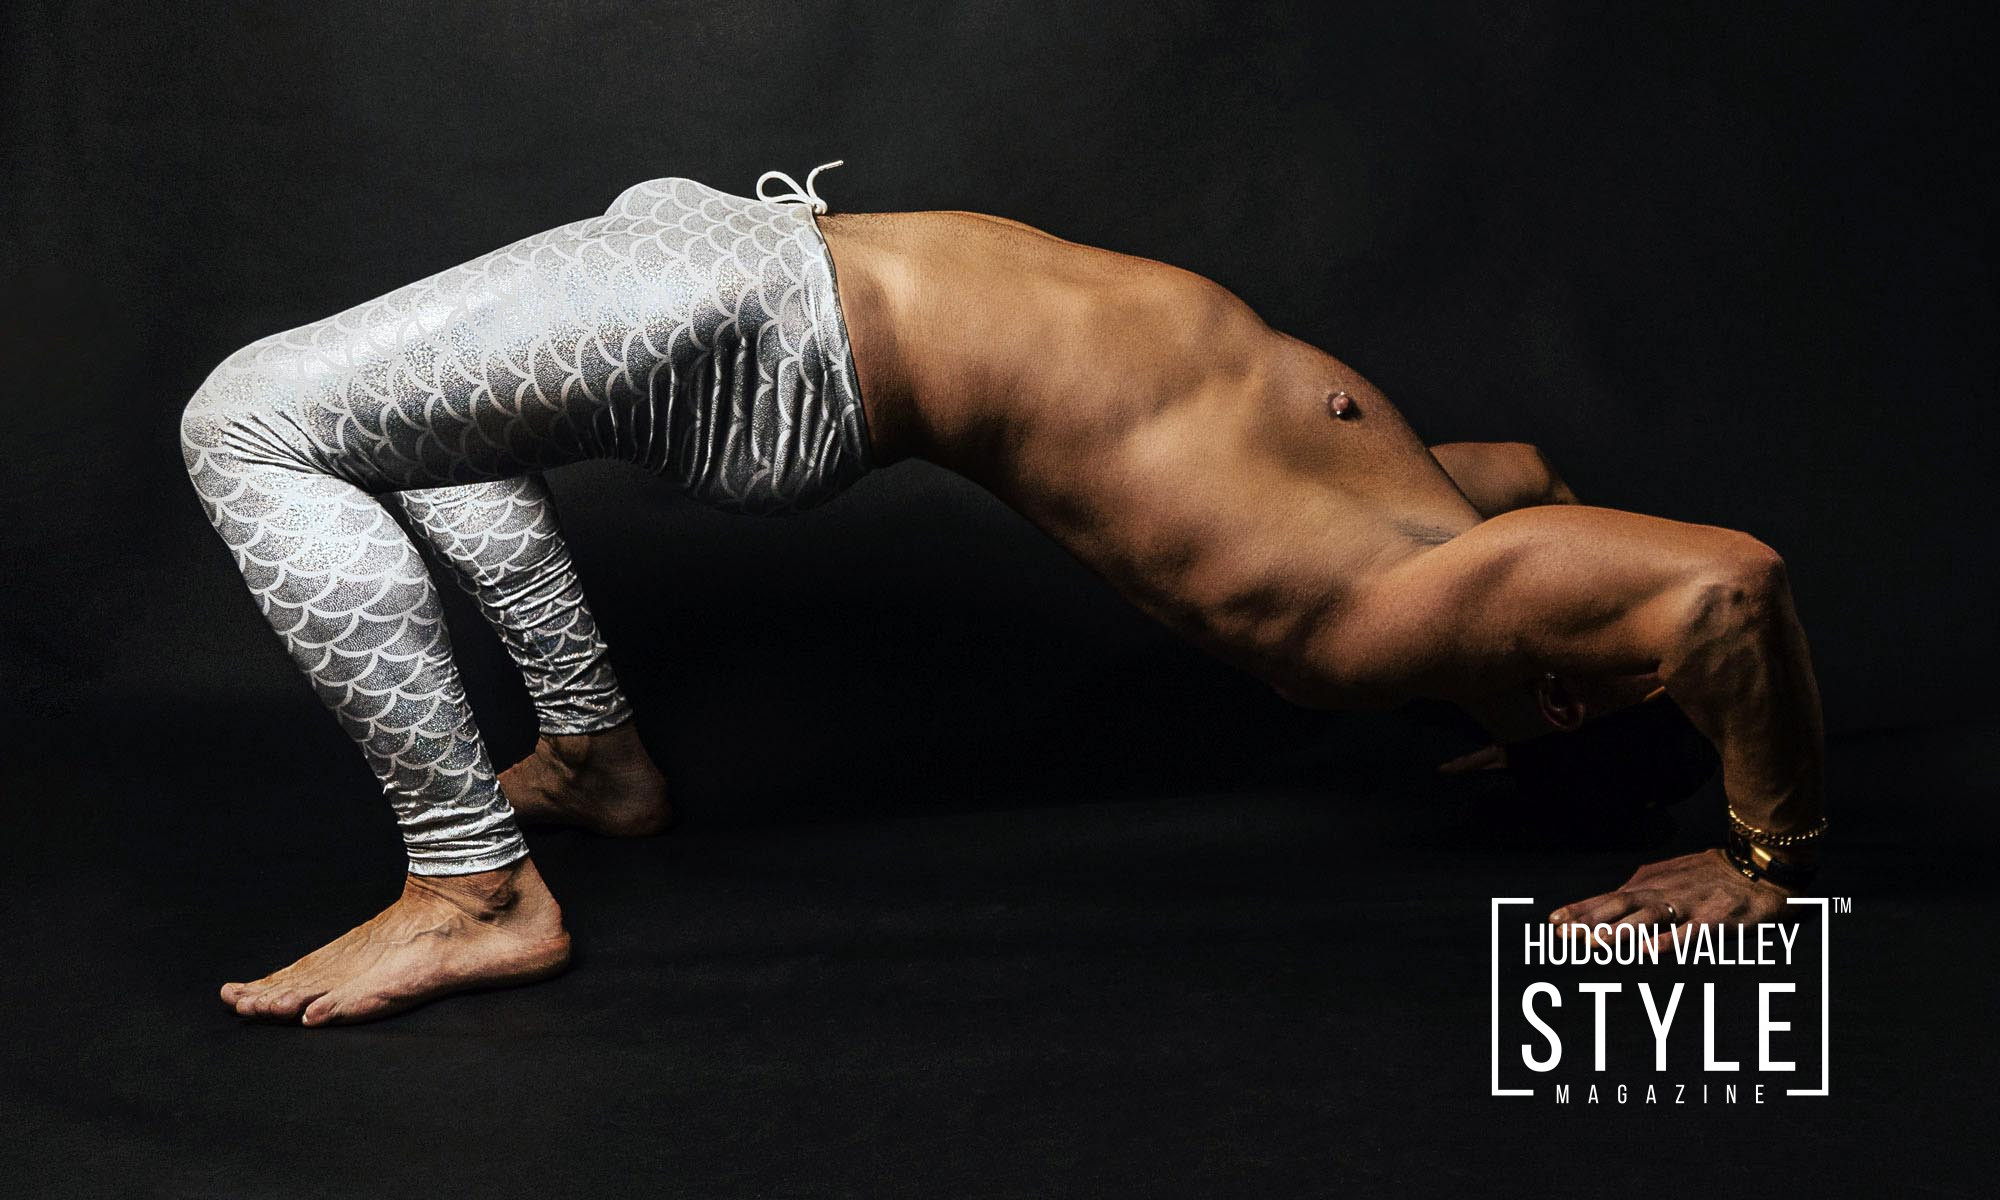
Bodybuilders and weightlifters need to pay special attention to their mobility and flexibility since it’s an integral part of their workouts and physical health in general. By taking the time to stretch regularly before training, bodybuilders and weightlifters can prevent any injuries that might compromise their performance in the gym or at competitions. Maxwell Alexander, renowned fitness model, and bodybuilding coach shares some of his favorite yoga poses for bodybuilders and weightlifters.
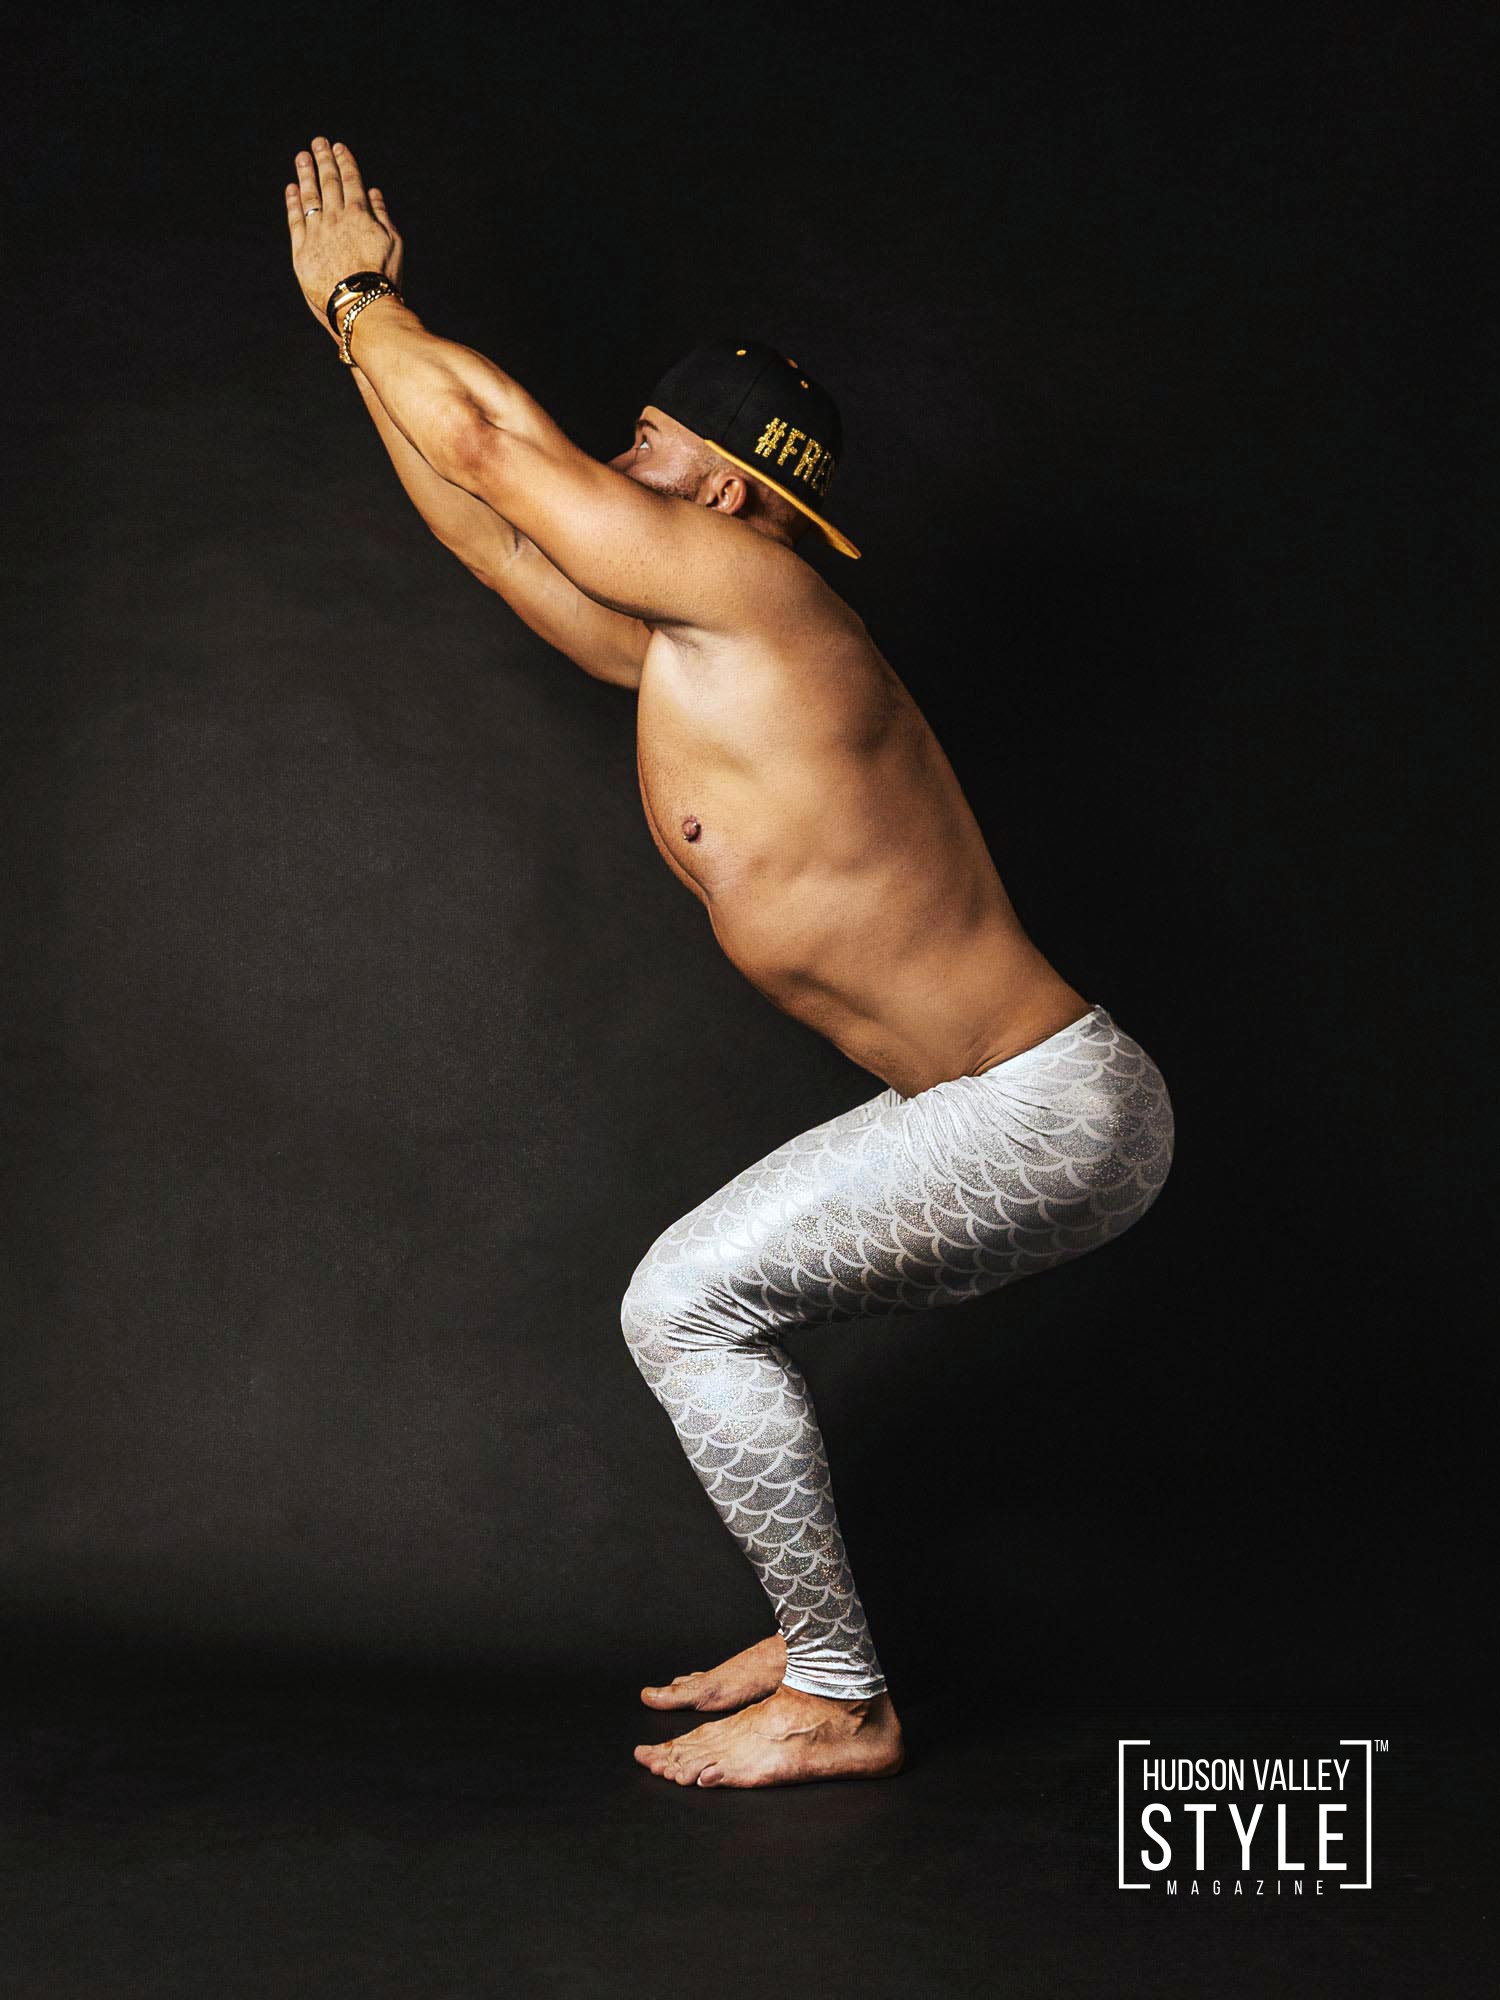
As a bodybuilding coach, I’ve heard clients comment (especially the inflexible and stiff men like myself ) that bodybuilding and yoga are incompatible activities. Yoga is generally viewed by bodybuilders as a means of achieving deep relaxation rather than providing a “real” workout for muscular strength and growth. In spite of the fact that people practice bodybuilding or yoga for a variety of mental and physical benefits, the two disciplines actually complement each other very well. Lifting weights increase muscle bulk, thus shortening and tightening the muscle fibers. This is where yoga comes in. You can achieve a greater range of motion through yoga and release tight muscles. A healthy range of motion enhances athletic performance by facilitating efficient muscle development.
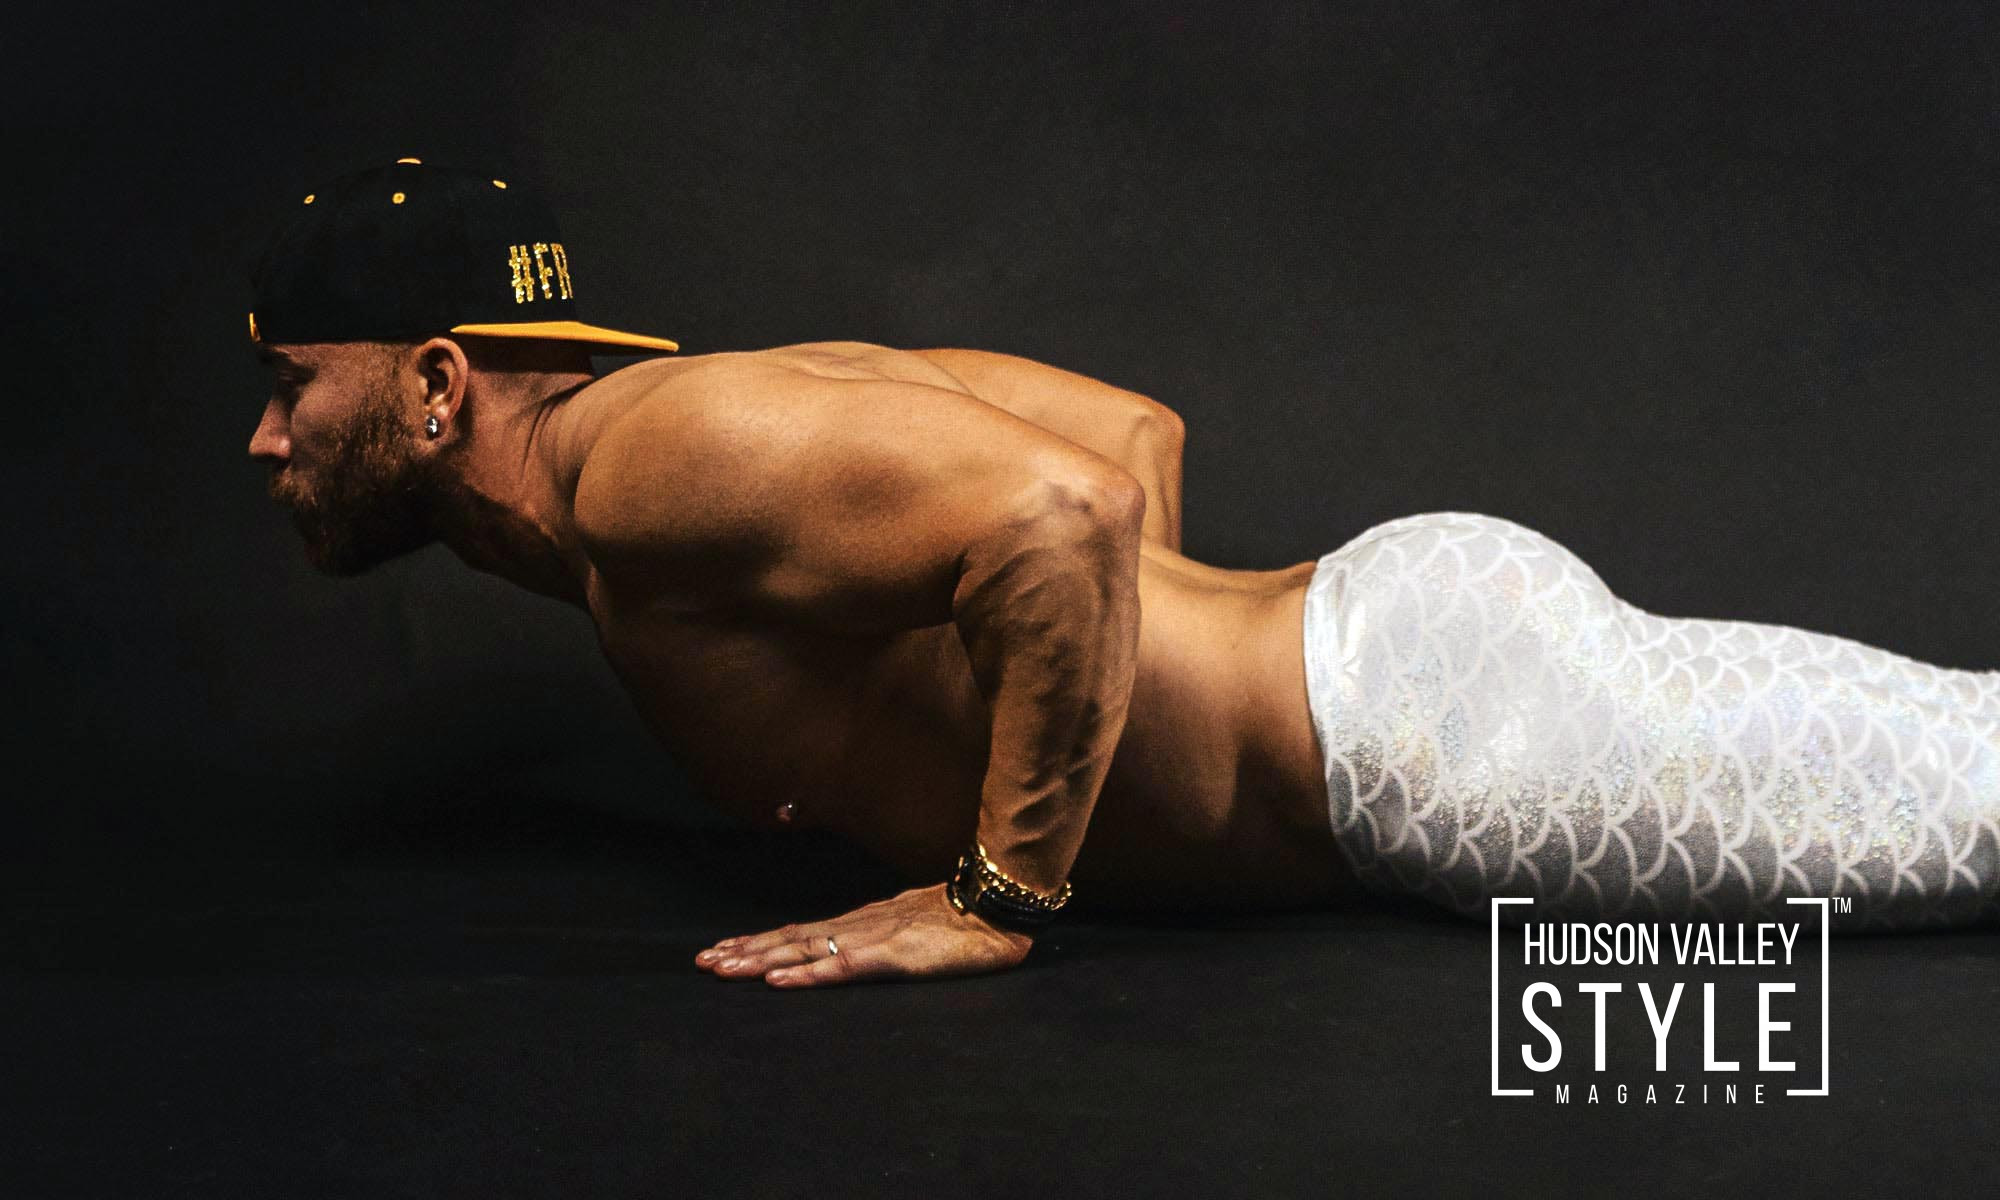
Whether done by experienced lifters with proper form or not, bodybuilders are constantly placing significant strain and pressure on their muscles and joints through repetitive weightlifting. Yoga poses can relieve this stress on the body by encouraging deep, full breathing, stabilizing and aligning muscle groups, and protecting skeletal joints.
The following are some yoga poses to complement your bodybuilding training:
Planks and Side Planks
In addition to strengthening your deep abdominals and spine stabilizers, planks support strenuous bodybuilding exercises. As you perform this posture, you will also condition the muscles around the shoulder blades and collarbones, which receive less attention during exercise. Holding planks develop isometric strength in many posterior muscle groups, such as the muscles along the spine, shoulders, and glutes. You can also perform side planks to activate your obliques, as well as to stretch your sides and increase flexibility in general.
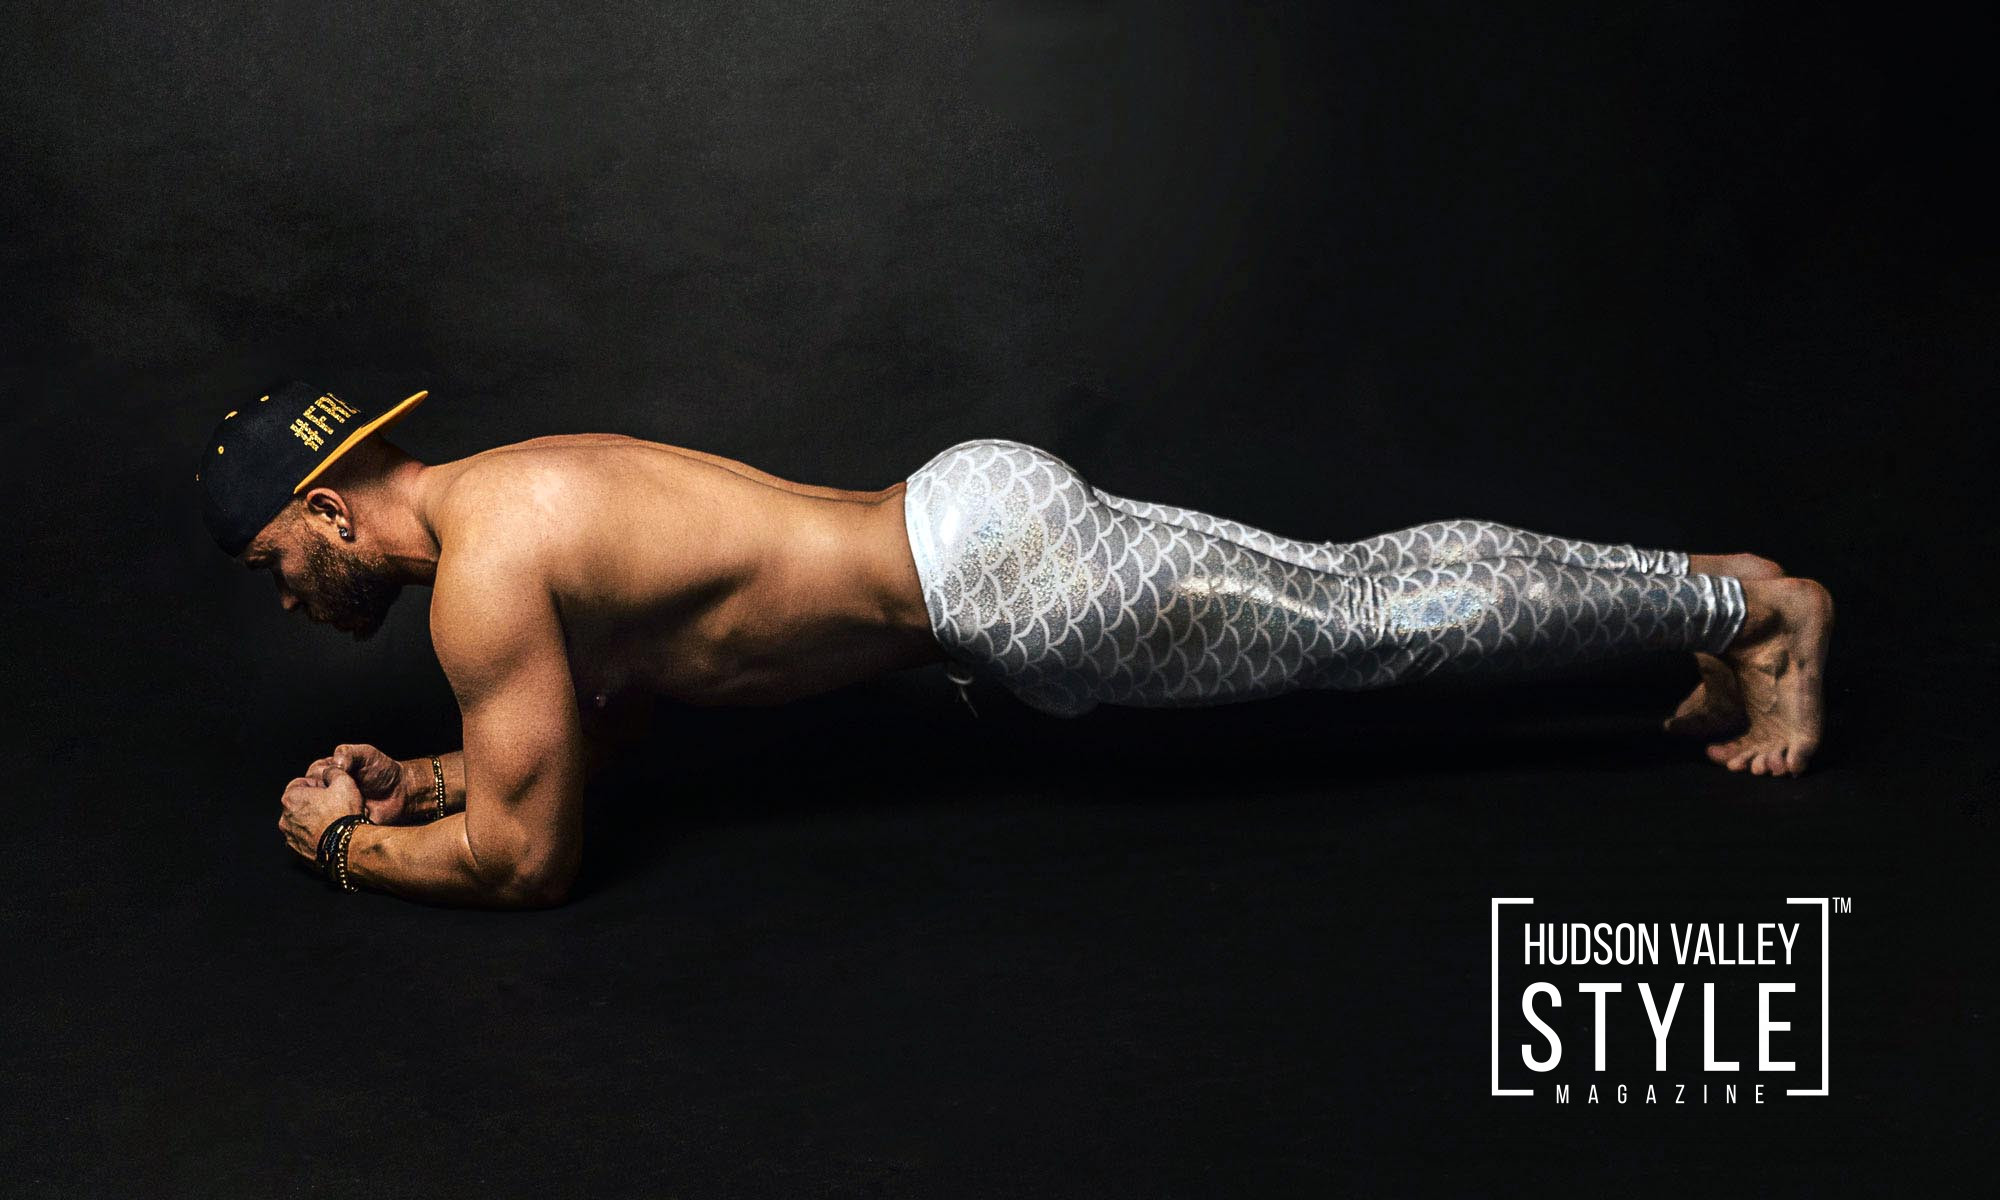
Assume a push-up position, then bend your elbows and lower yourself to your forearms. Stack your shoulders over your elbows and your heels over your toes. Make sure your head is aligned with your spine (don’t look down or up), so that your whole body is aligned. Hold for about 20 seconds, keeping your abdominals engaged to support your lower back. Keeping your alignment in mind at all times, you can gradually extend your hold time to two minutes.
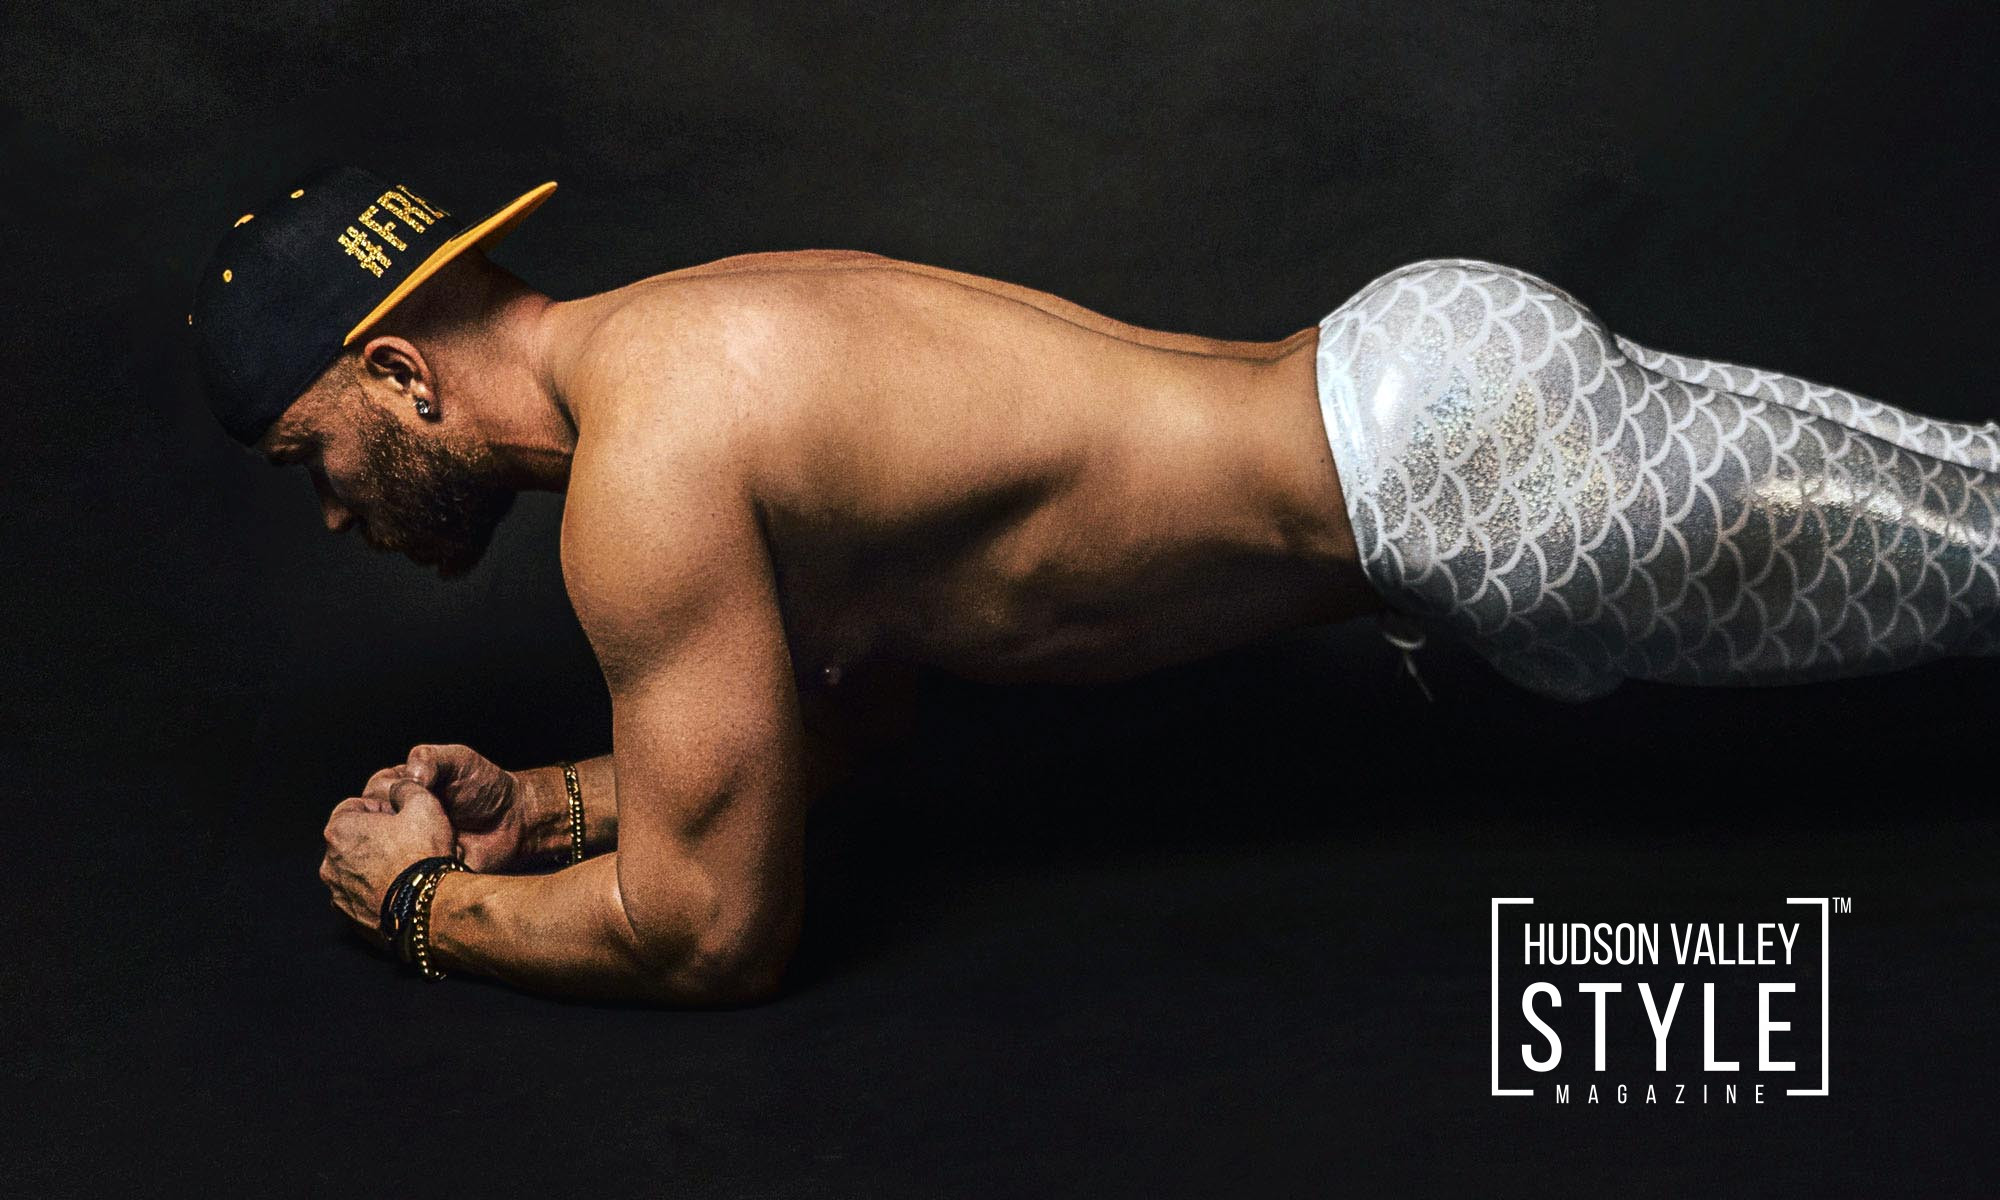
When you’re comfortable with traditional planks, try side planks. Lie on your right side with your legs extended fully. Rest your elbow directly under your shoulder on your forearm. Keep your abs contracted the entire time as you prop your body up. Your body should form one line, without raising or lowering your head (also ensure that your hips do not drop). Hold the pose for about 30 seconds, then lower yourself. Alternate sides two or three times.
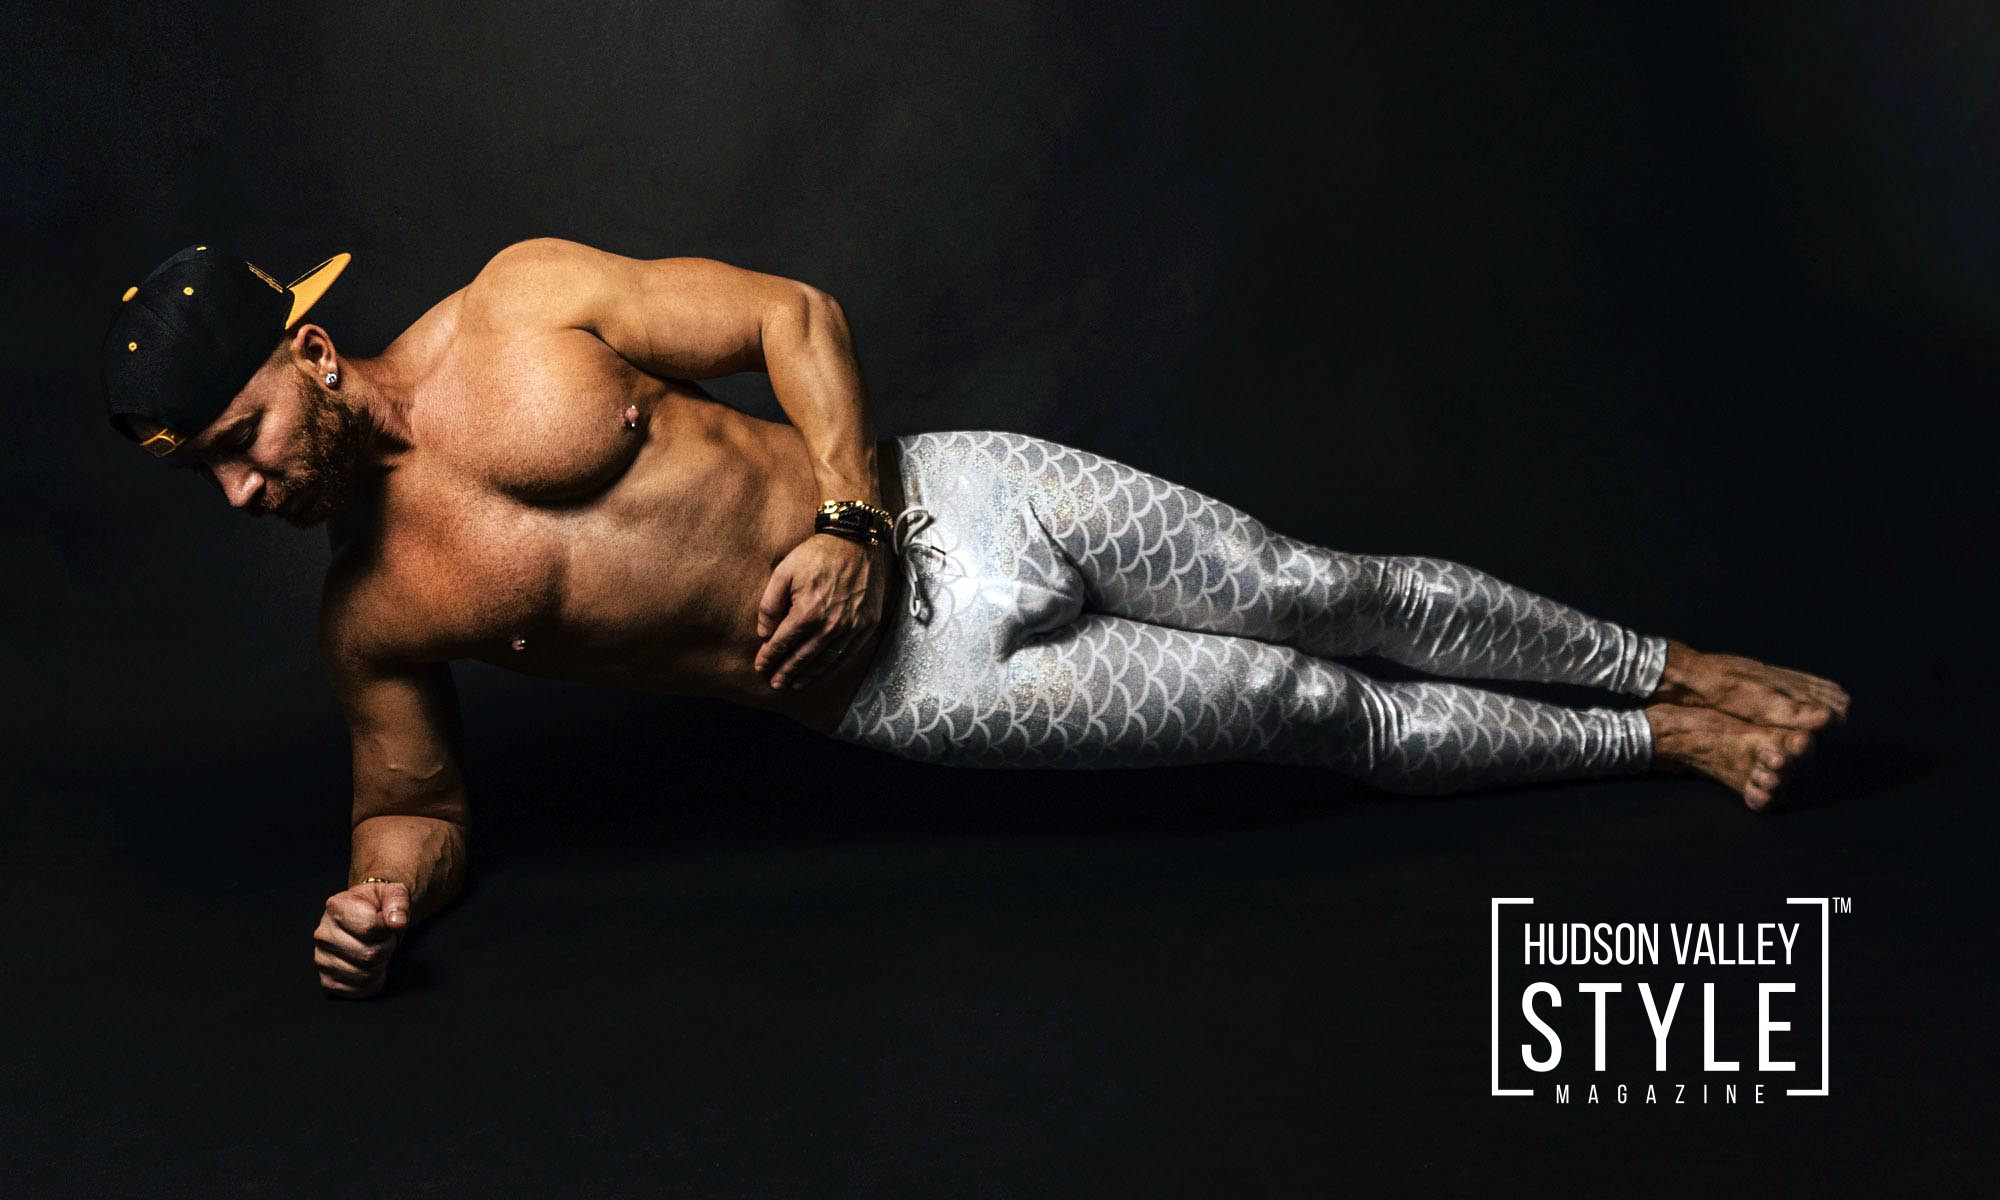
Opposite Arm and Leg Extension
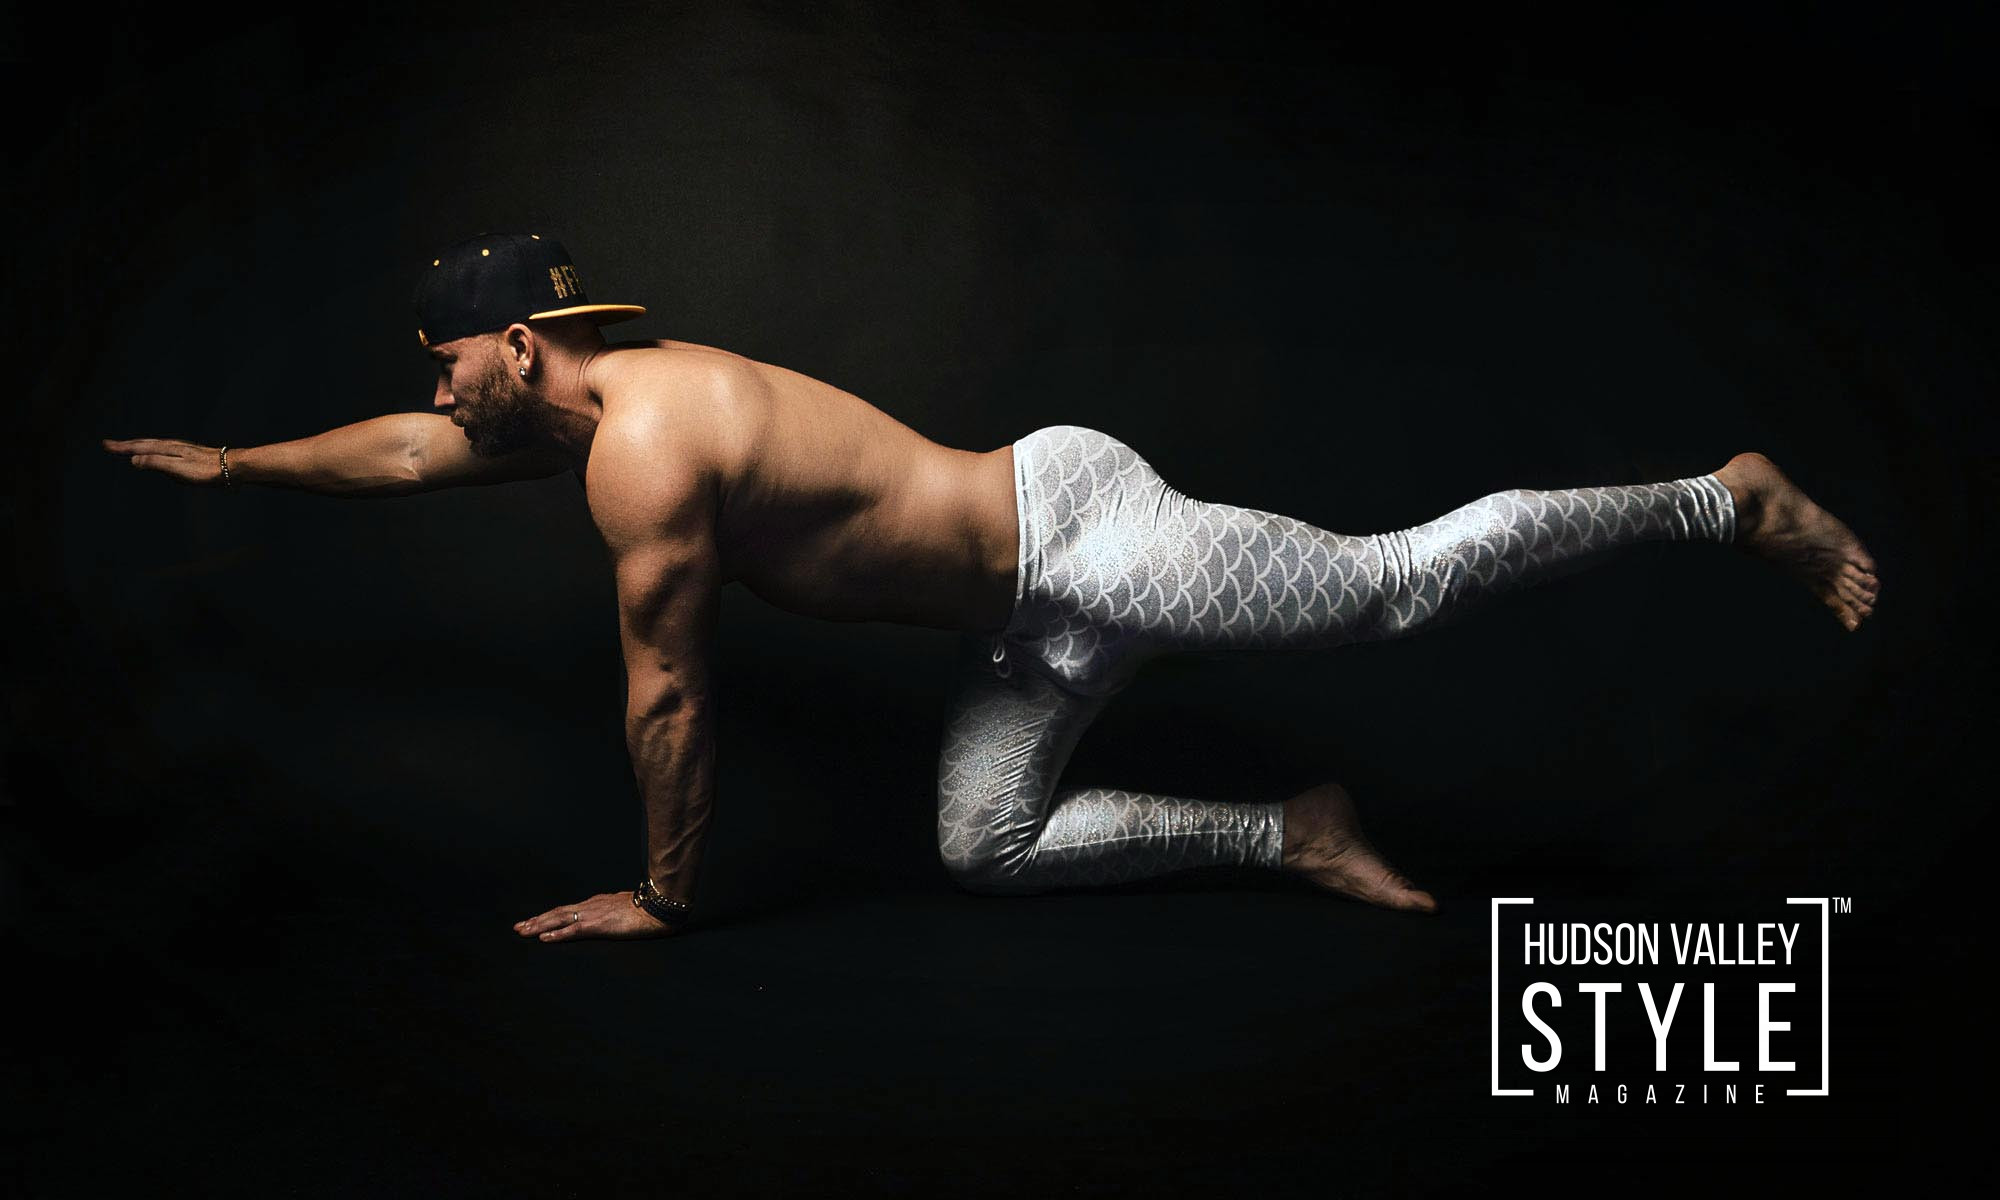
“Bird dog pose” provides strength to the back in preparation for resistance training. In addition, it strengthens the glutes and abdominals.
Place your hands and knees shoulder-width apart on all fours. Holding your lower abdominals, lift your right arm and left leg off the floor until they are parallel to your body. After a few breaths, return to all fours and repeat on the other side. It is most effective to do a few repetitions of this exercise on both sides.
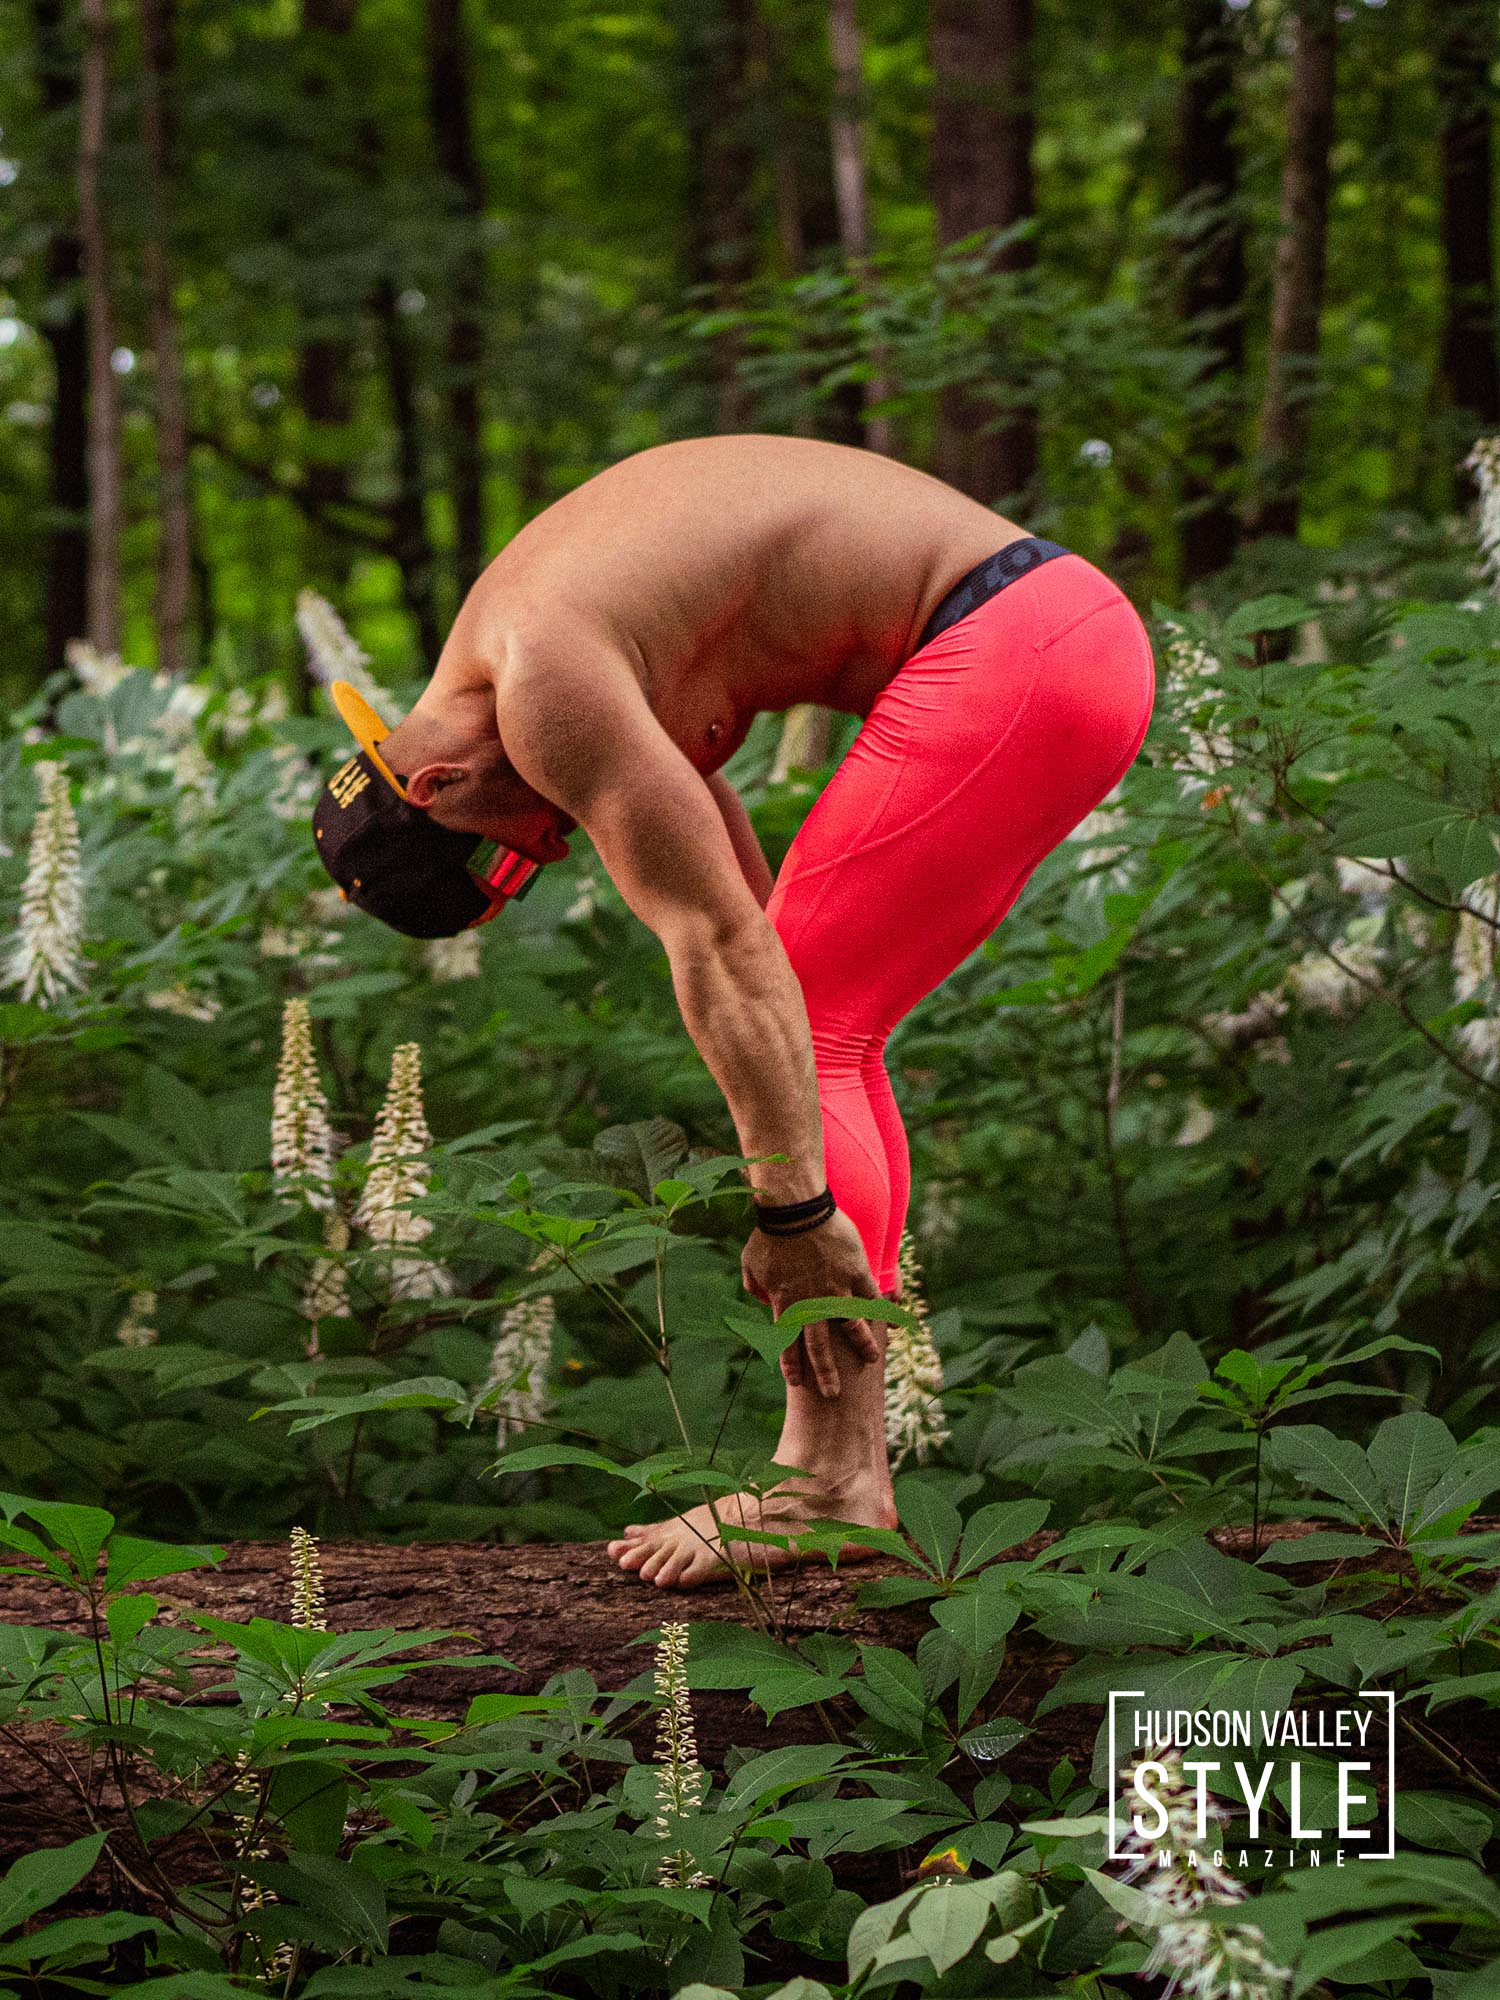
Uttanasana – Standing Forward Bend
Hamstrings, hip muscles, and the girdle of your pelvis are stretched with this pose. It’s also a great way to release tension that builds up during training.
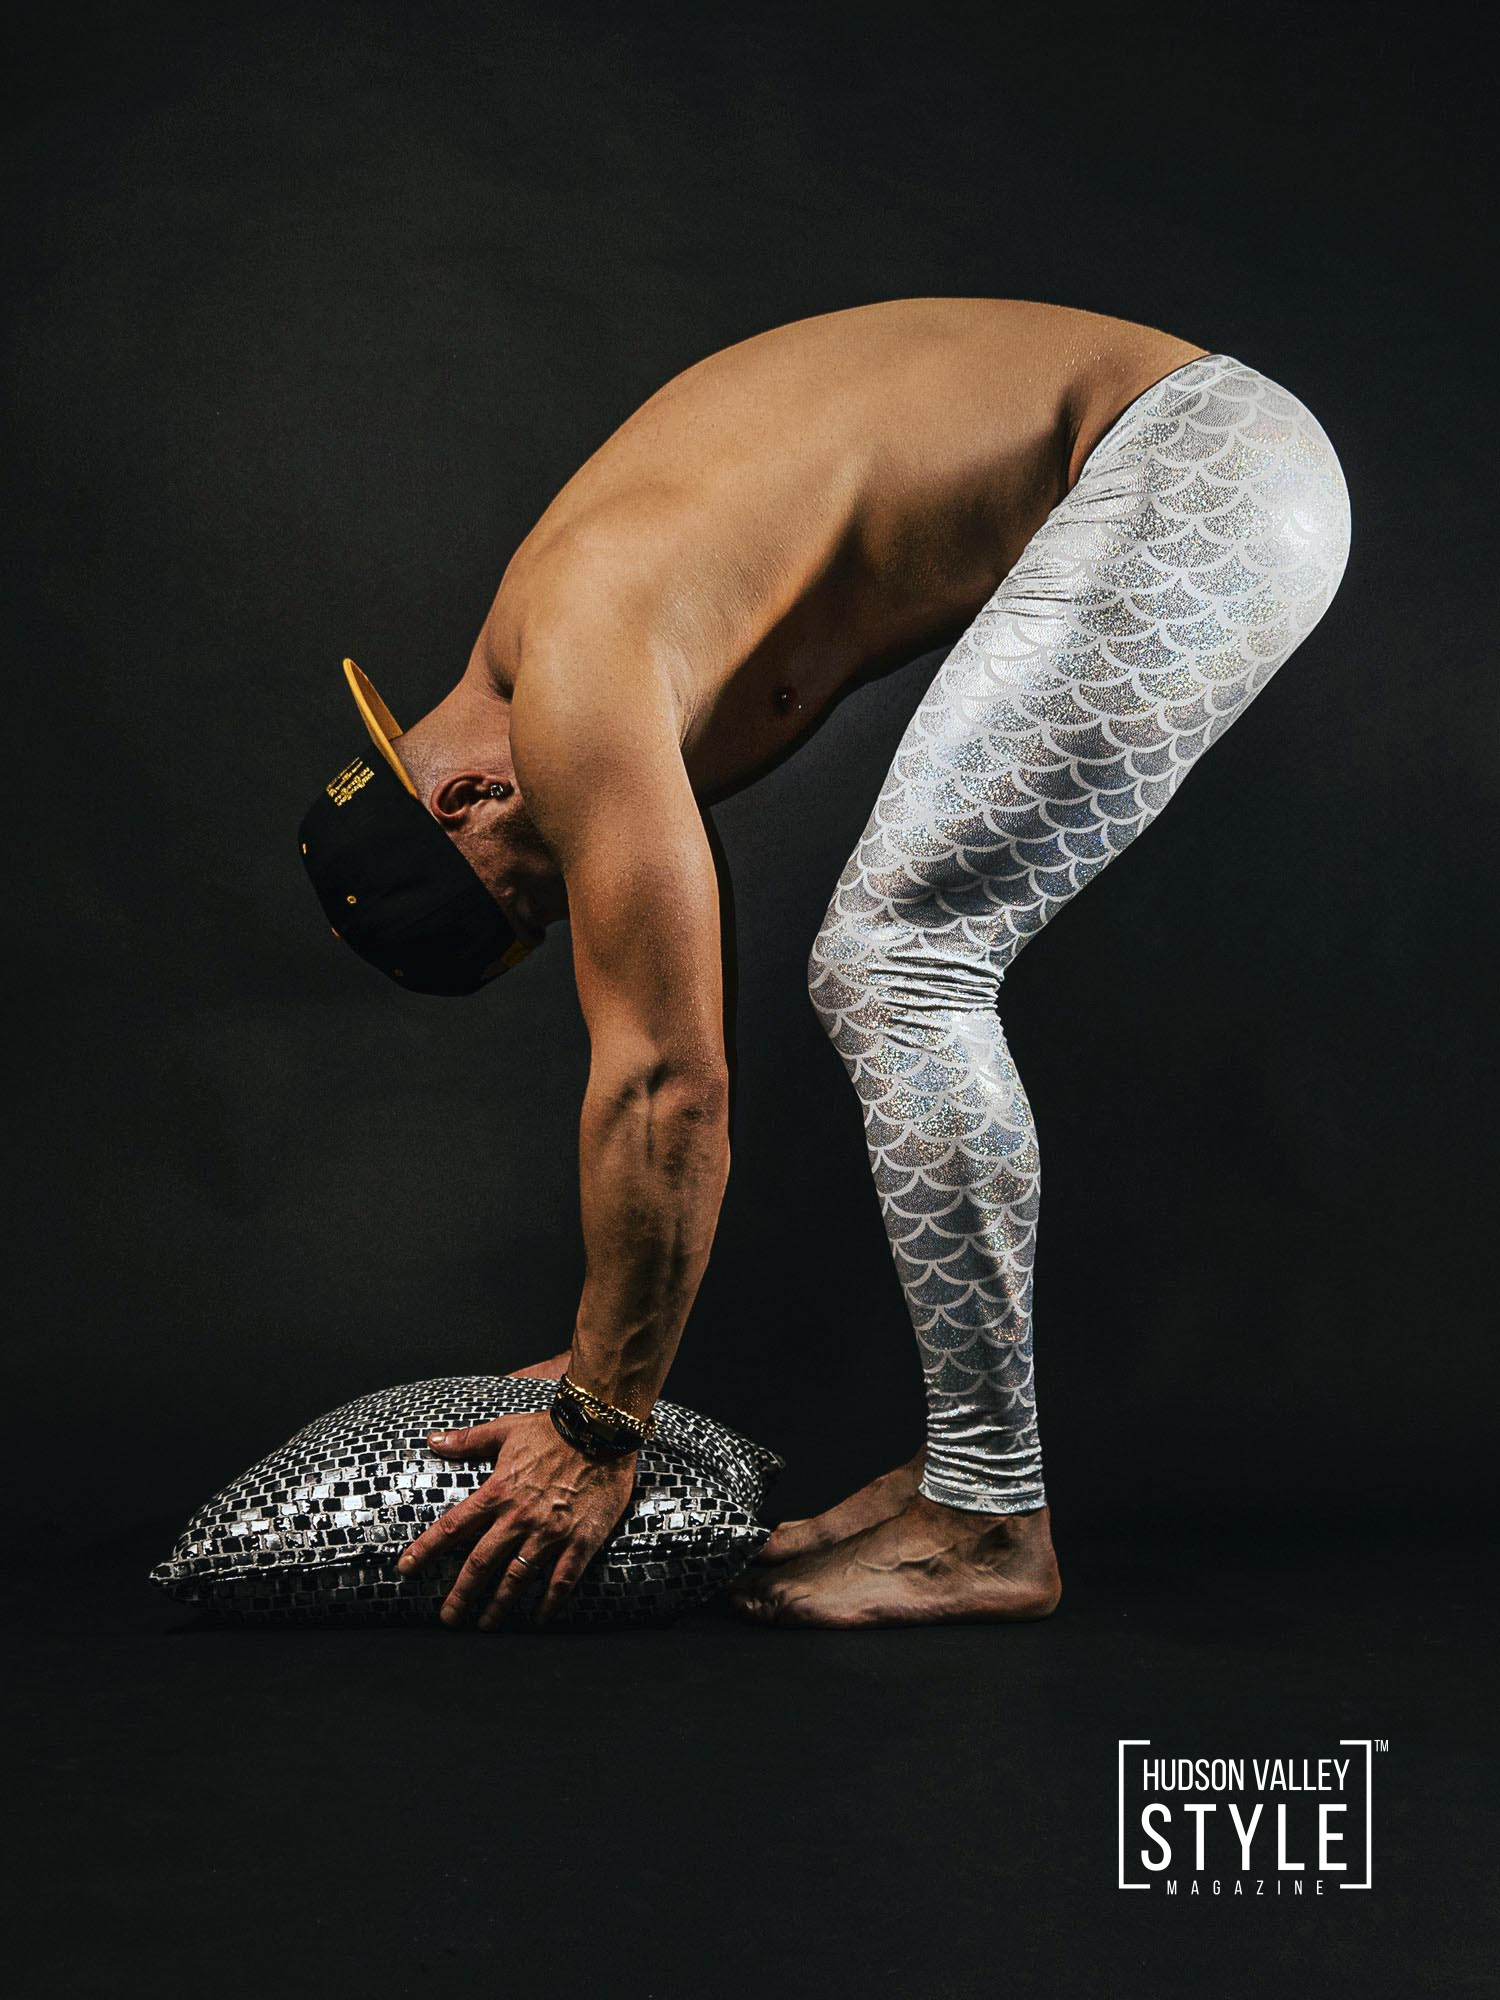
Start in mountain pose by standing with your feet parallel and hip-width apart with your hands on your hips. As you exhale, hinge forward at your hips, lengthening through your spine and torso (it’s okay to bend your knees). Touch the ground with your fingertips. Keep your safety in the posture by bending your knees until all of your fingertips touch the ground (or bring the ground up to you by placing your hands on blocks).
Lift your bottom toward the sky as you let your head hang down. Your weight should be evenly distributed over the arches of your feet. You should prioritize a long spine over straight legs (you may find you can find more length through your spine by bending your knees).
As you come out of the pose, bend your knees (if they’re not already bent) and come to a half-forward bend. Keeping your fingertips on the floor/blocks, or sliding your hands up onto your shins, straighten your arms and lengthen your spine, reaching back through your hips and forward through your crown of the head. Bring your hands to your hips and point your elbows up toward the sky. As you stand up, keep your spine straight (don’t roll up).
Bhujangasana – Cobra Pose
The asana looks like a cobra with its head raised. This backbend opens the chest, strengthens the spine, and stretches the front of the shoulders and abdomen. In bodybuilding, strengthening the back muscles is key to cultivating certain desirable physical attributes, such as a well-developed back and torso. It is even said that the condition of someone’s back can tell you if they are a bodybuilder!
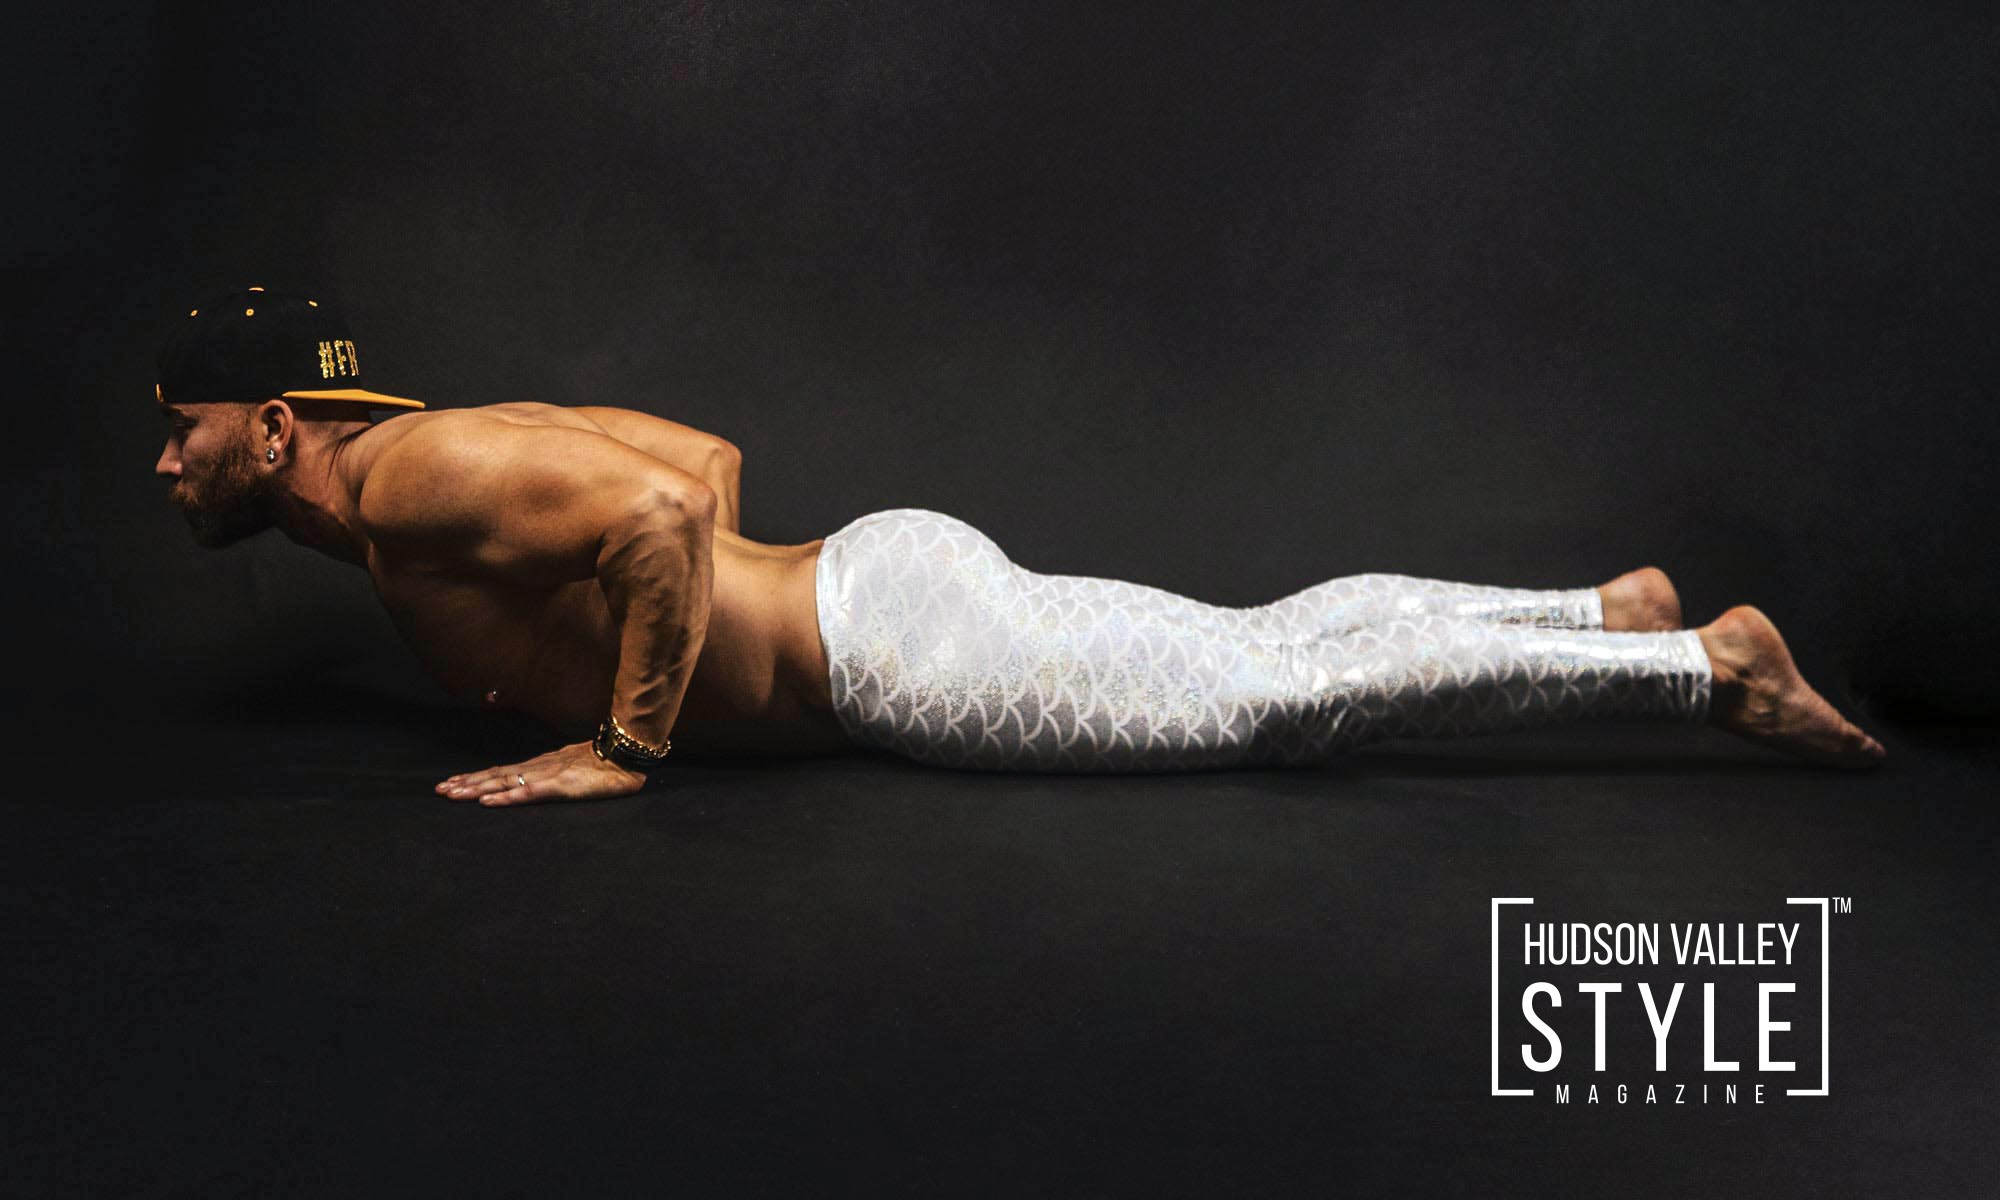
Start with a low cobra: Lie on your stomach, place your hands’ side by side next to your chest, the fingers pointing forward. Maintain a broad chest and do not allow your shoulders to round forward. Keep the tops of your feet flat on the mat (toes should not be curled under). When you inhale, lift your chest away from the ground while remaining as still as possible. Align your head with your spine. Hold the pose for a few breaths, and then release to the floor gently. You can work toward lifting into a higher cobra pose with time. Remember, the most important part of lifting the chest off the floor is to do so as smoothly as possible without placing strain on the low back.
Legs-Up-the-Wall – Supported Chair Pose
A simple yet effective way to stretch your legs is to practice this pose. You will also be helped to cope with the hardships of the day by its calming effect. A great way to round out a yoga practice, but can also be done on its own.
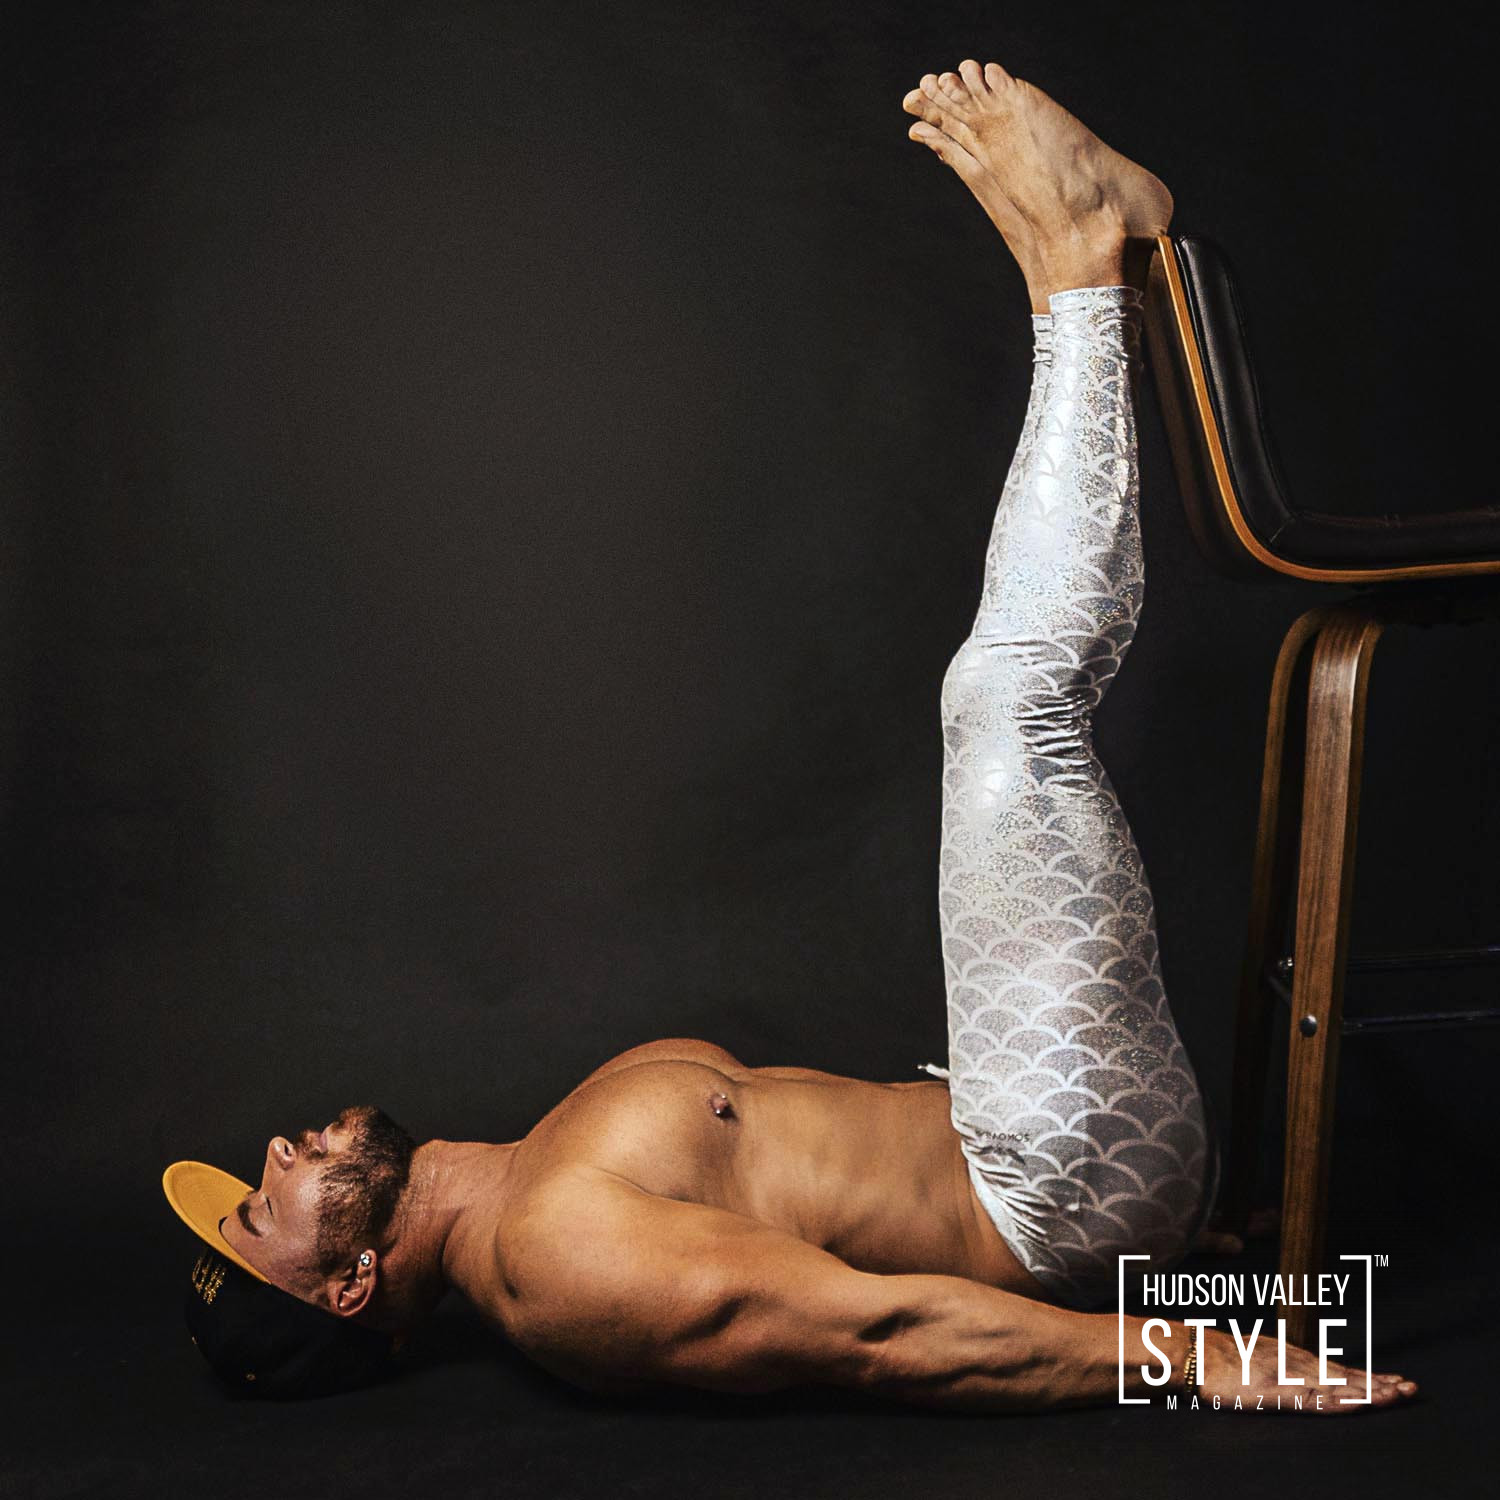
As support, place a rolled foam mat, rolled thick blankets, or yoga bolsters about six to eight inches from the wall. Put your right hip against the wall to the left of your support, and then roll to your right, onto your back, bringing your legs up the wall. By bending your knees at first, and placing the soles of your feet on the wall, you can walk them up the wall to straighten your legs again as you slide your butt forward (it may have slid back as you entered the pose). Draw your legs as close together as you can comfortably while your butt drops below the support (either touching the wall or close to the wall). Spread your arms out to the sides. Relax your jaw and face. You can support your head and neck with a pillow, low cushion, or folded blanket if you like.
If you do not have a free wall nearby, you can practice the “legs on a chair pose” instead, with your knees bent and your lower legs resting on a chair seat.
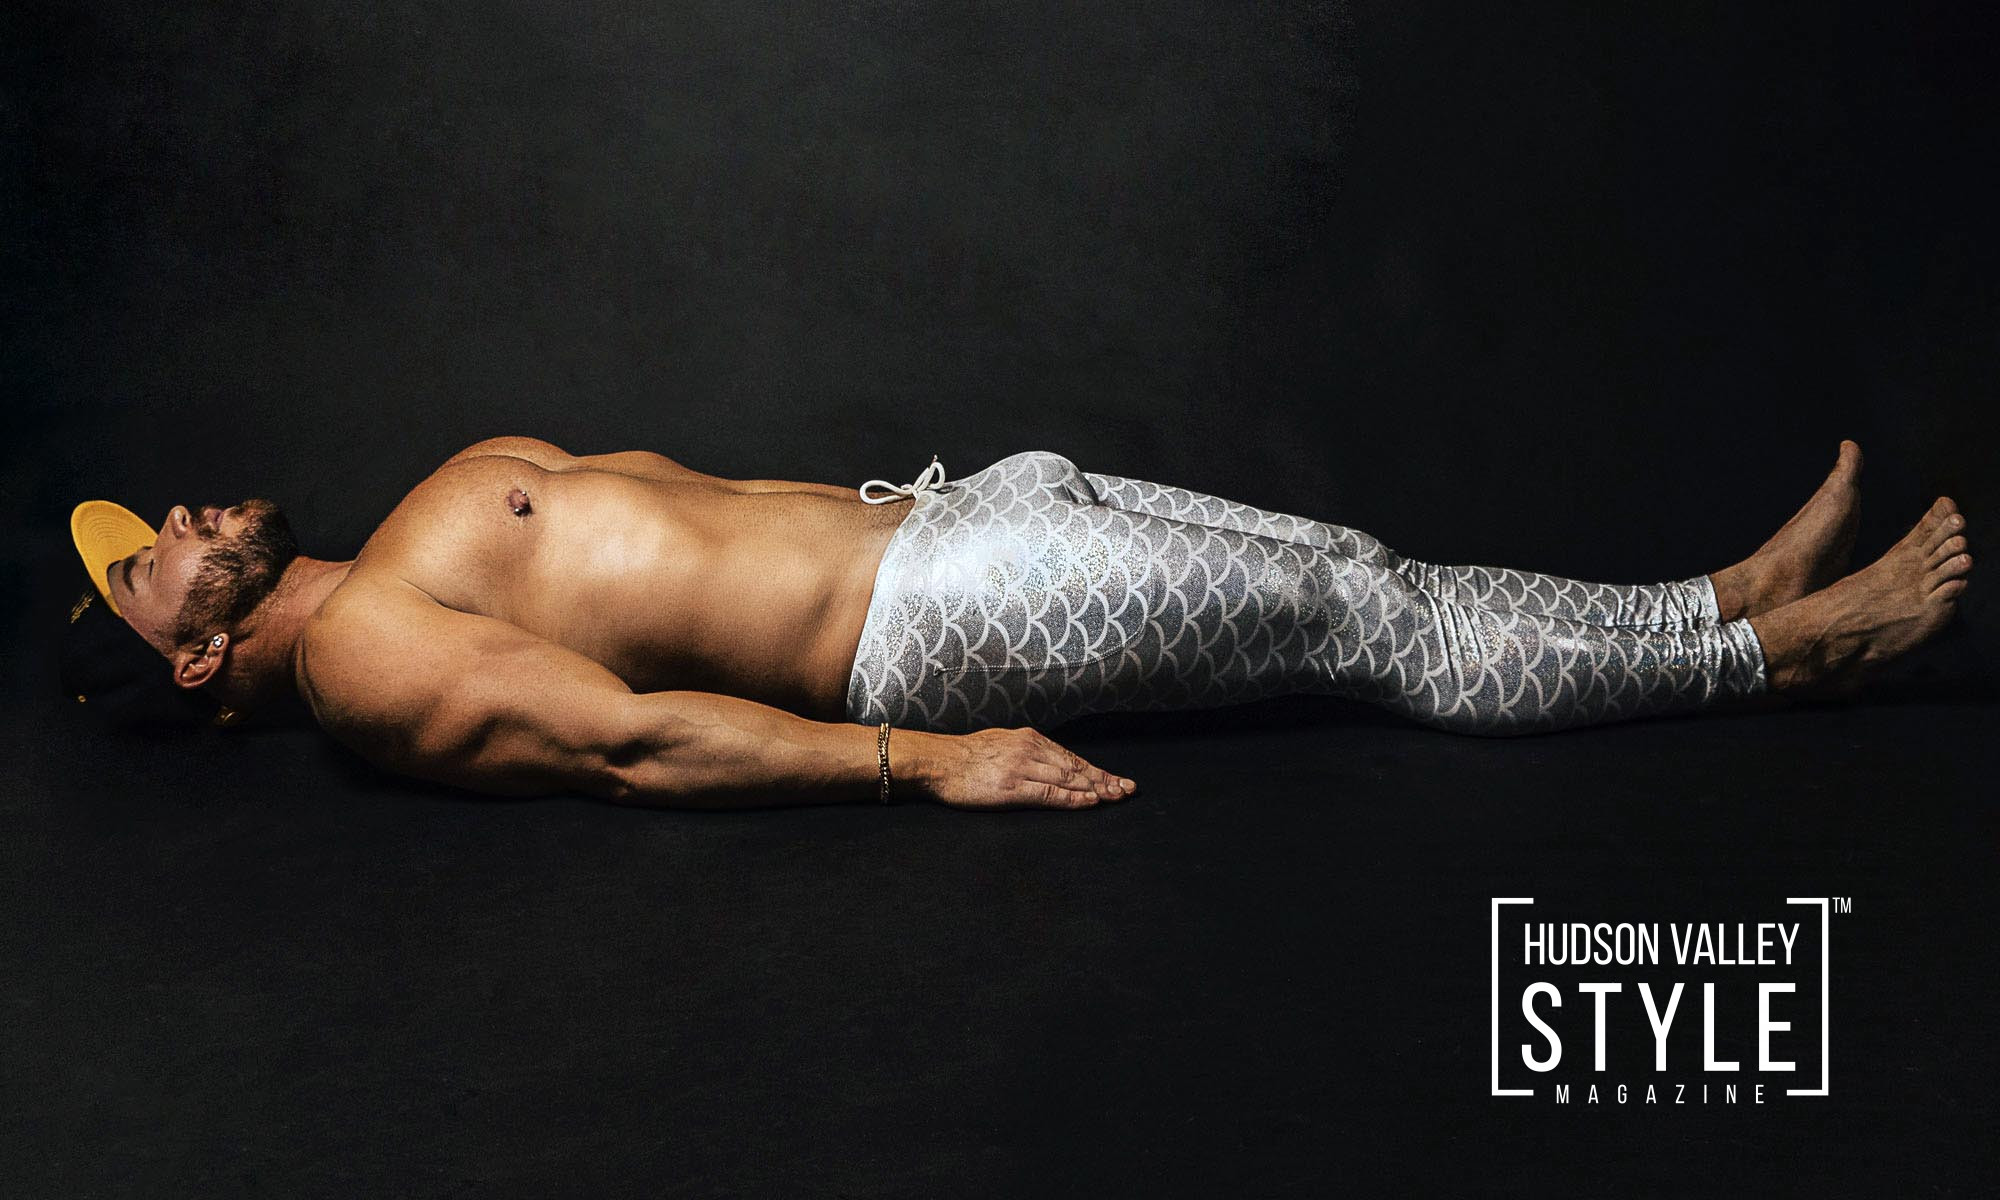
The key to avoiding injury in bodybuilding is balance! You need to make sure that you allocate some time to yoga before you begin another season of fitness fatigue at your gym. Through yoga, you will find the ideal balance between a powerful mind and a powerful body. In the next section, discover the power of meditation to power up your mental capacity. And after each workout, consider my favorite pose of all Savasana – I could do that one for hours 🙂
